Two posts in one day! Wow, I am on a roll...don't get used to it though ;-/ I happen to have the day off from work so that is where all this time has come from!
I did want to share what we had for dinner tonight, homemade pizza! Reece claims that 'my' pizza beats the restaurant kind! What a compliment?! He
is my husband though :)
What you will need:
Ingredients:
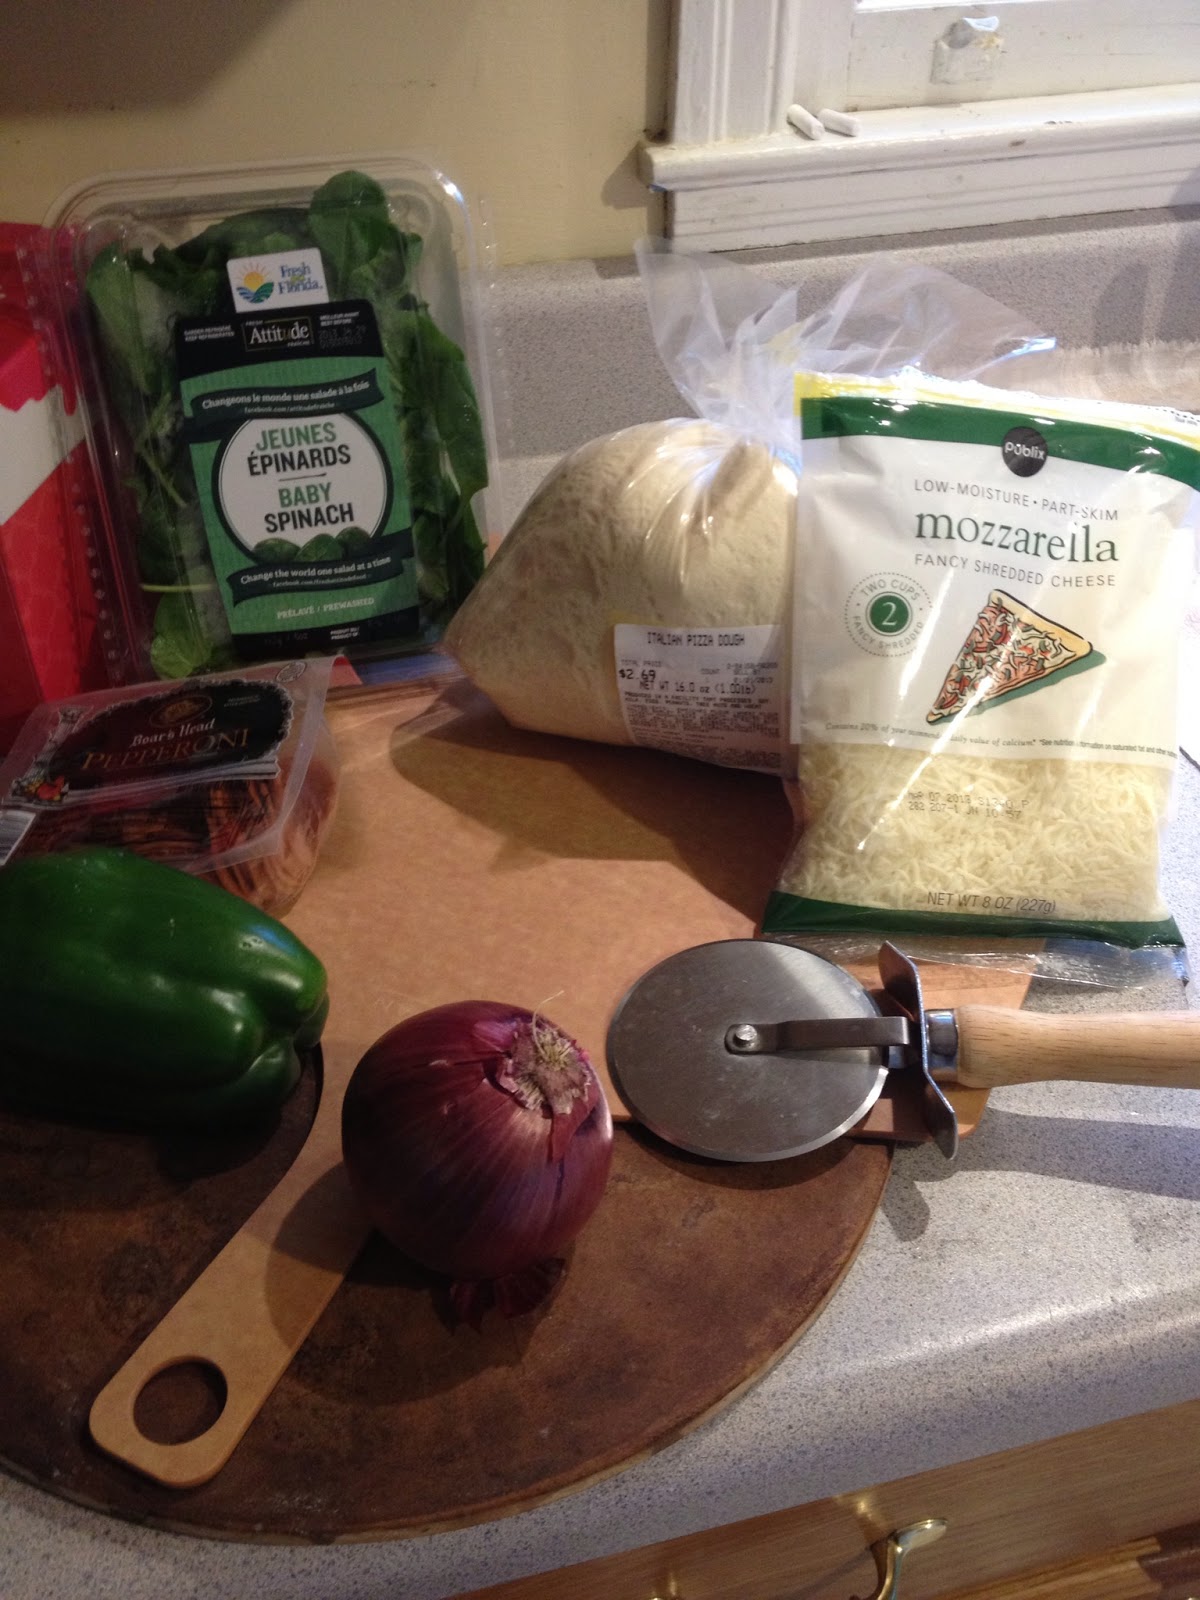
pizza dough
toppings of your choice
1 bag shredded mozarella cheese
olive oil or something similar (optional)
minced garlic (optional)
pizza sauce
spices (oregano, etc)
Tools:
pizza stone (or pizza pan)
rolling pin
wax paper (or pizza peel)
yellow corn meal
The dough: I have never made a pizza with any other dough than the Publix kind! You can find it by the bakery counter, usually in a small refrigerator. It comes in a round ball wrapped in a plastic bag. I usually take the dough out of the fridge in the morning if we are going to eat it that night. Let the dough rise all day. (you can see it in the pic - behind the cheese).
Preheat oven to 500 degrees (yes hot). Then start prepping your ingredients...tonight I chose to sautee a green bell pepper and red onion (because I had nothing better to do!) in some grapeseed oil.
 |
| sliced bell pepper in strips |
 |
slice onion in strips (I make slits in the onion,
not cutting all the way to the end) |
 |
| I almost always used a cast iron pan! |
Then I started assembling my pizza. I am fancy and have a pizza peel now (thank you Laura Hume for my Christmas present!) It isn't necessary, but it's fun to play with ;0) I ALWAYS dust my surface (whether its wax paper on the counter or pizza peel) with
YELLOW CORN MEAL. It really makes for a crispier crust (that secret comes from my brother, David!) and helps the dough not stick to the surface. Then I use a rolling pin to roll out the dough to form the pizza crust. I lightly (like 3 tsp.) brush
olive oil or grapeseed oil over the dough followed by
minced garlic and maybe 3-4 Tablespoons
pizza sauce (a little goes a long way in my opinion). Here is when you can sprinkle any additional spices like oregano over the sauce. Now throw all of your ingredients on top. Tonight we had pepperoni, spinach leaves (on my side), sauteed red onion and green bell pepper.
Next, add shredded mozarella cheese to cover all of the ingredients. Don't freak out, because you might use nearly a whole bag!
Tricky part: Transfer pizza to PRE-HEATED pizza STONE (I think the stone and heating it up makes a difference). Bake for 10 - 12 minutes. I usually broil it for the last minute or so to get a nice crisp to the top.
 |
| YUMMM!! |